


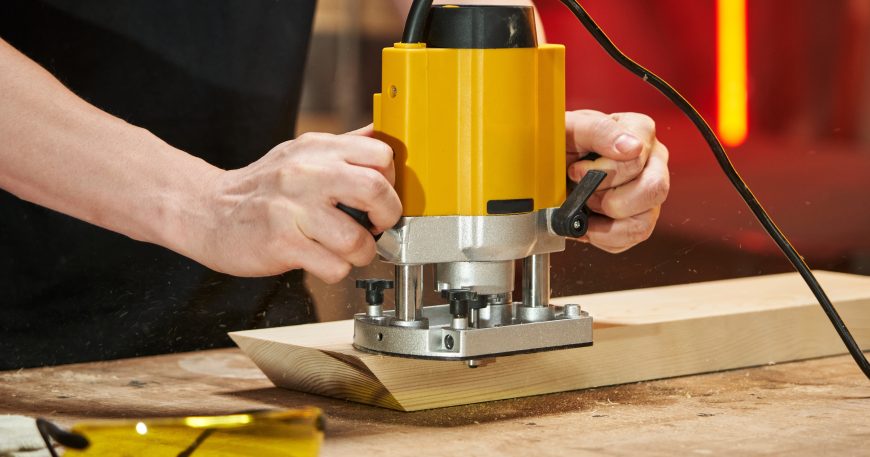
Router Basics for Beginners: First Cuts Without the Common Mistakes
A router sitting on the bench feels unpredictable before you use it for the first time. The motor is loud, the bit spins fast, and there is almost no margin between a clean cut and a dig-in that ruins the workpiece. Router basics for beginners come down to understanding three things before the first cut: which direction to feed, how deep to cut in each pass, and how to select the right bit for the job.
Get those three things right and the router becomes one of the most useful tools in a garage workshop. Get them wrong and every session produces burned edges, tear-out, or a bit that grabs and kicks the tool sideways.
What Makes Router Cuts Go Wrong for Beginners?
Router cuts fail for beginners because the tool requires correct feed direction, controlled depth of cut, and appropriate bit speed working together at the same time. Unlike a saw where the material sits still and the blade does the work in one direction, a router reacts differently depending on how it moves relative to the spinning bit.
Understanding these variables before turning the tool on removes most of the unpredictability beginners experience in the first sessions with this tool.
Feed Direction Is Not Optional
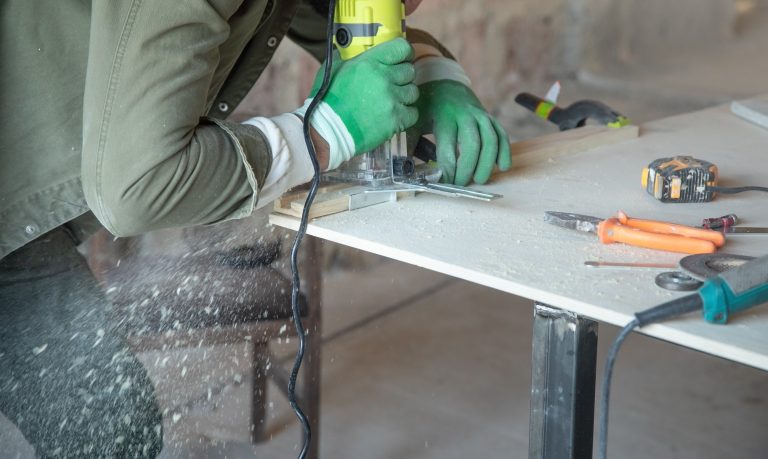
The router bit rotates in a fixed direction, and the workpiece must be fed against that rotation for the bit to cut cleanly rather than climbing and grabbing. For a handheld router moving along the outside edge of a board, this means feeding left to right when you are standing behind the tool looking toward the cut.
Feeding in the wrong direction, known as a climb cut, causes the router to pull itself along the wood faster than you can control it. The result ranges from a rough, torn surface to a tool that moves suddenly and unexpectedly across the workpiece. Climb cuts have a limited legitimate use for experienced woodworkers on specific applications but are not appropriate for beginner use.
A simple way to confirm correct feed direction before starting: hold the router above the workpiece without turning it on, note which way the bit would rotate, and move the tool so the bit would be cutting into new material rather than running away from it.
Depth of Cut Determines Whether the Bit Works or Burns
Taking too much material in a single pass is the most common beginner mistake with a router. A bit forced to remove too much material at once slows down under load, generates excessive heat, and burns the wood while also putting stress on the bit shank and router collet.
For most beginner router work, a maximum depth of cut of one quarter inch per pass is a reliable starting point. Profiles that require more depth, like a full roundover or a deep rabbet, are made in two or three passes at increasing depth rather than a single deep pass.
This is not a rule that applies only to underpowered routers. Even a two-horsepower router benefits from light passes on the first cuts of a session while the bit and material warm up, particularly in dense hardwoods.
Bit Speed and Diameter Must Match
Router bits run at different optimal speeds depending on their diameter. Large-diameter bits, anything above one inch, must be run at lower speeds than small bits because the cutting edge travels a longer distance per rotation and generates more heat and force at higher RPM settings.
Most variable-speed routers include a recommended speed chart based on bit diameter. Following this chart prevents the overheating and burning that beginners often blame on technique when the actual cause is running a large panel-raising or large roundover bit at full speed.
Router Setup Before the First Cut
Choosing the Right Bit for Beginner Projects

Not every router bit is appropriate for a first project. Bits with long cutting lengths, large diameters, or complex profiles require more technique and control than the simpler options that are better suited to early sessions.
The best starting bits for a beginner garage workshop are:
🪚 Straight bits for cutting dados, rabbets, and grooves with a guide or fence
🪚 Roundover bits (quarter inch or three-eighths inch radius) for softening edges on furniture pieces
🪚 Chamfer bits for adding clean 45-degree bevels to edges and panels
🪚 Flush trim bits for pattern routing when a template is used
These four bit types cover most beginner routing needs without the complexity of bits that require finer speed and feed control.
Secure the Workpiece Before Routing
A board that moves during routing produces an inaccurate cut and can cause the router to grab suddenly. Clamping the workpiece to the bench, or using a router mat for smaller pieces, eliminates movement and allows both hands to control the router throughout the cut.
Never attempt to hold a small workpiece by hand while routing. The same principle applies to drilling and fastening, where an unsecured workpiece creates the same loss of control that causes wood to split when driving screws near edges. The workpiece must be stationary and the router must be the moving element for safe, controlled cuts. For small pieces that cannot be clamped effectively, a router table where the bit is stationary and the workpiece moves against a fence is a safer and more controllable setup.
Set the Bit Depth With the Router Unplugged
Adjust bit depth with the router disconnected from power, setting the depth incrementally rather than estimating. Most plunge routers allow setting a stop depth directly, while fixed-base routers require measuring the exposed bit length below the base.
After setting depth, make a test pass on scrap from the same material before cutting the actual workpiece. This confirms the bit height, the feed speed required for a clean cut, and whether a second pass at greater depth will be needed.
Handheld Router vs. Router Table: Which Is Better for Beginners?
Both setups have legitimate advantages and the right choice depends on the operation. For edge profiling on large panels and boards, a handheld router is easier to control because the workpiece stays flat on the bench. For small pieces, narrow stock, and repetitive identical cuts, a router table provides more control and consistency because the workpiece moves against a stationary fence rather than the router moving over a stationary workpiece.
Many beginner woodworkers start with a handheld router and add a simple table later as their project types expand. A basic router table can be built from plywood and a router lift plate for under fifty dollars in materials, which is a practical addition once the fundamental handheld technique is established.
The Most Common Router Mistakes and What They Tell You
Burned edges on the cut surface indicate one of three things: feed rate too slow, bit depth too aggressive, or a dull bit that is rubbing rather than cutting. The fix is increasing feed speed slightly, reducing depth per pass, or replacing the bit.
Rough, torn surface on the cut face means the feed direction was incorrect or the grain direction worked against the bit. This surface tear-out follows the same fiber mechanics that cause plywood edges to blow out under a circular saw blade, and the fix in both cases starts with cutting direction. Check feed direction first, then consider whether the grain direction requires adjusting the approach.
Router grabbing or pulling sideways during a cut indicates too much depth of cut for the material and bit combination, or a bit that has come slightly loose in the collet. Stop the cut, reduce depth, and always verify collet tightness before starting.
Chatter, which is a vibrating, intermittent cut surface, usually means the bit is not fully seated in the collet or the collet itself is worn. Pull the bit out, clean the collet and bit shank with a dry cloth, and reinstall with the bit pulled back slightly from full depth before tightening.
👉 Book a demo today and see how Woodshop Master helps your shop grow without limits.
FAQ: Table Saw Cut Accuracy
What router should a beginner buy first?
A two-horsepower fixed-base router with variable speed covers the majority of beginner routing applications and is more stable for edge work than a plunge router. A combo kit that includes both a fixed and plunge base on the same motor is a practical value if the budget allows, since it eliminates the need to buy a second router later.
How do I know if I am feeding the router in the correct direction?
When routing the outside edge of a board with a handheld router, feed from left to right when standing behind the tool. When routing the inside of a frame or box, feed in the opposite direction, right to left. The consistent rule is: the bit should always be cutting into fresh material in front of it, not pulling away from the cut behind it.
Why does my router bit keep burning the wood even at the right depth?
The most common causes are a dull bit, a feed rate that is too slow, or running a large-diameter bit at too high an RPM. Replace bits that show visible wear on the cutting edges, increase feed speed slightly, and check the speed chart for your specific bit diameter.
Can I use a router without a guide or fence?
Freehand routing without a guide is possible for decorative carving and sign work but is not appropriate for straight cuts, dados, or repeatable edge profiles. Always use a guide, fence, or template for any cut that needs to be straight, consistent, or matched across multiple pieces.
What is the difference between a straight bit and a spiral bit?
Straight bits have cutting edges that run parallel to the bit axis and cut efficiently in most materials. Upcut spiral bits pull chips out of the cut, making them preferred for deep mortises and through cuts. Downcut spiral bits push chips down and produce cleaner surfaces on the top face of the cut, making them preferred for dados and grooves where the top surface appearance matters. For basic beginner use, standard straight bits work well across most applications. POST: The first cut reveals more than you think. 👇 Link in the comments. Linkedin: #Woodworking #Craftsmanship #DIYProjects

