



How to Build a Simple Workbench for a Garage Workshop on a Tight Budget
The first real problem in a garage workshop is not having the right tools. It is not having a solid, stable surface to work on. A wobbly folding table or a sheet of plywood on sawhorses makes every operation harder than it needs to be and introduces errors that have nothing to do with skill or technique.
Building a simple workbench for a garage workshop does not require advanced joinery, expensive materials, or a full set of hand tools. A functional bench that handles real woodworking tasks can be built from construction lumber for under one hundred dollars in materials, in a single weekend, using the same basic tools a beginner already owns.
What Makes a Workbench Actually Work in a Garage Workshop?
A simple workbench works in a garage workshop when it is rigid enough not to rack under cutting and assembly loads, sized correctly for the available space, and built at the right height for the person using it. These three requirements matter more than the joinery method, the wood species, or the number of features the bench includes.
A bench that wobbles transfers that movement into every cut, every clamp, and every assembly operation performed on it. Getting rigidity right from the start is more important than any add-on feature.
What Height Is Right for a Workbench?
Workbench height is personal and depends on how the bench will primarily be used. The standard recommendation is to build the bench so the top surface sits at approximately the height of the builder’s knuckles when standing with arms relaxed at the sides.
For hand tool work like planing and chiseling, a lower bench gives more leverage and downward force. For power tool operations and assembly work, a slightly higher bench reduces back strain during long sessions. For a general-purpose beginner bench in a garage workshop, the knuckle-height rule produces a surface that works well across most operations without committing to a specialized height.
What Size Should a Beginner Workbench Be?
For a one-car garage workshop, a bench measuring 24 inches deep by 60 inches long fits along one wall without consuming the work area. How that bench fits into the overall layout of the space is covered in detail in how to organize a small garage workshop when space is the real problem. , leaves room for the bench to be accessed from the front and both ends, and provides enough surface for most furniture-scale projects.
A deeper bench is useful for assembly work but requires stepping further back to reach the far side during operations. A longer bench is useful if space allows but is not essential for most beginner projects. The 24 by 60 inch footprint is the practical minimum for a functional beginner bench and works in almost any garage workshop layout.
Materials and Cut List for a Simple Garage Workshop Workbench
This bench design uses dimensional construction lumber available at any home center. No specialty lumber or hardware is required beyond what is listed.
Materials needed:
🪚 Four 4x4x8 Douglas fir or southern yellow pine (legs)
🪚 Six 2x6x8 Douglas fir or southern yellow pine (top and lower shelf)
🪚 Four 2x4x8 Douglas fir or southern yellow pine (aprons and stretchers)
🪚 Two and a half inch structural screws, one box
🪚 Three and a half inch structural screws, one box
🪚 Wood glue
🪚 Sandpaper, 80 and 120 grit
Cut list:
🪚 Legs: four pieces at 34 inches from 4×4 stock
🪚 Top boards: five pieces at 60 inches from 2×6 stock
🪚 Front and back aprons: two pieces at 53 inches from 2×4 stock
🪚 End aprons: two pieces at 21 inches from 2×4 stock
🪚 Lower shelf boards: four pieces at 57 inches from 2×6 stock
🪚 Lower stretchers: two pieces at 21 inches from 2×4 stock
How to Build the Workbench Step by Step
Step 1: Build the Two End Frames First
Each end frame consists of two legs connected by one end apron at the top and one lower stretcher near the floor. Building the end frames as separate units before connecting them makes squaring the entire bench significantly easier because each frame can be squared independently before the long aprons tie everything together.
Attach the end apron flush with the top of both legs using two three-and-a-half inch screws per joint, with glue on the mating surfaces. Position the lower stretcher eight inches from the floor and attach with the same method.
Check each frame for square by measuring diagonally corner to corner in both directions. Equal diagonal measurements confirm the frame is square. Adjust before the glue sets if the measurements differ.
Step 2: Connect the End Frames With the Long Aprons
Stand both end frames upright and connect them with the front and back aprons, positioned flush with the top of the legs and flush with the outside face of each leg. Use two screws and glue at each connection point.
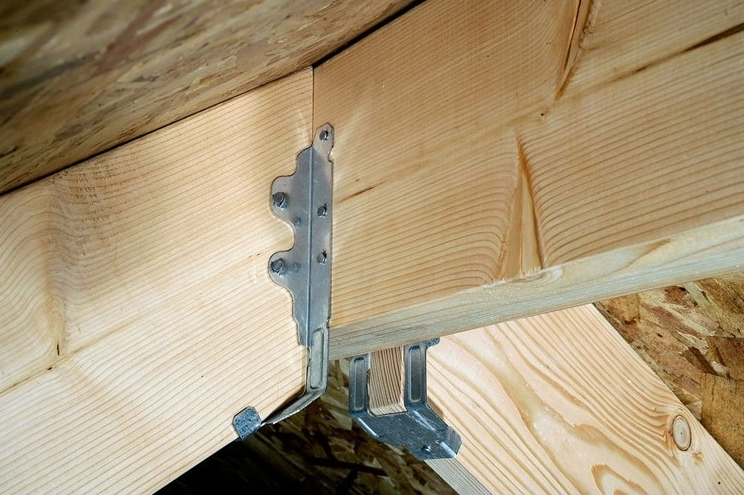
Check the assembled base for square and for any twist before the glue cures. Place a long straightedge or a level across the top of the assembly diagonally to check for twist. If the base rocks on a flat floor, one leg is longer than the others. Trim the long leg rather than shimming under it.
Step 3: Add the Lower Shelf
Drop the lower shelf boards into place across the lower stretchers and attach with two-and-a-half inch screws. The shelf does not need to be glued since it primarily carries stored items rather than transferring structural load. Leave small gaps between boards to allow sawdust to fall through rather than accumulate.
Step 4: Build the Top
The bench top is the most important surface and deserves the most attention during construction. Glue and clamp the five 2×6 top boards together edge to edge, alternating the direction of the growth rings on each board to reduce cupping tendency as the top moves with humidity changes. Understanding why solid wood panels cup and warp after assembly helps inform this decision, and the full explanation is in why wood warps after assembly and what you can do about it. Allow the glued-up top to cure for a full 24 hours before flattening. Use a hand plane, a belt sander, or a router sled to flatten the top surface after the glue cures. A flat bench top makes every subsequent operation more accurate and is worth the extra time to achieve before attaching the top to the base.
Step 5: Attach the Top to the Base
Attach the top to the base using figure-eight fasteners or tabletop clips set into slots routed in the apron tops. Do not glue the top directly to the base. Solid wood tops move seasonally with humidity changes and a rigid glue joint between the top and base causes cracking or racking as that movement is resisted.
Four to six attachment points distributed evenly around the perimeter of the top is sufficient to hold it firmly in place while allowing seasonal movement.
Optional Add-Ons Worth Building Into the Design
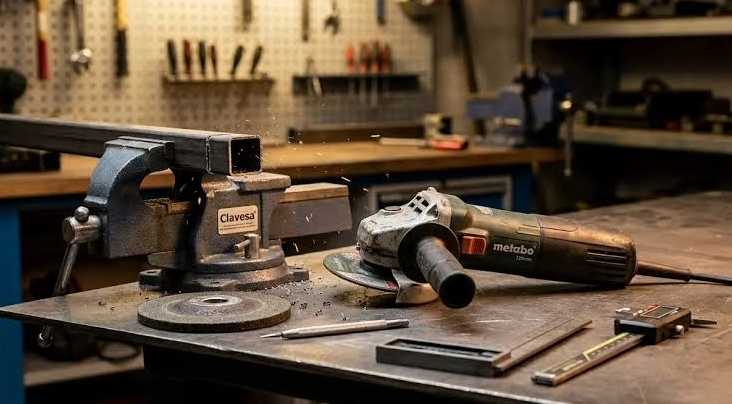
A simple vise is the most useful addition to a beginner workbench. A face vise mounted at the left end of the front apron (for a right-handed woodworker) provides secure holding for hand planing, sawing, and chiseling without clamping to the bench top.
Basic vises suitable for a beginner bench are available at most home centers and tool suppliers in the sixty to one hundred dollar range. Mounting requires cutting a notch in the front apron to accommodate the vise body and adding a wooden jaw face to protect the workpiece.
Dog holes, which are round or square holes drilled through the bench top at regular intervals, allow bench dogs and holddowns to secure workpieces to the top surface without clamping. A row of three-quarter inch holes spaced four inches apart along the front third of the bench top is a practical addition that can be added at the time of build or later.
Common Mistakes When Building a First Workbench
Using twisted or bowed lumber in the base produces a bench that rocks and is difficult to stabilize. Before purchasing material, sight down every board at the home center and select the straightest stock available. Construction lumber quality varies significantly between pieces in the same bundle.
Building the bench at the wrong height for the primary use is the most common functional mistake. Measure carefully before cutting legs and consider whether the bench will primarily be used for hand tools, power tools, or assembly, since each benefits from a slightly different height.
Skipping the base squaring step produces a bench that looks solid but wobbles in use because the legs do not all make even contact with the floor. This is difficult to correct after the glue has cured and the screws are in.
👉 Book a demo today and see how Woodshop Master helps your shop grow without limits.
FAQ: Table Saw Cut Accuracy
Do I need a vise on my first workbench?
A vise is not required for a first workbench but adds significant functionality immediately. If budget is limited, build the bench without a vise and add one later. The apron design accommodates a face vise at any point after the bench is complete without requiring any modification to the base structure.
What wood should I use for a beginner workbench?
Construction-grade Douglas fir or southern yellow pine from a home center is the practical choice for a first bench. Both are stiff, reasonably hard, and priced affordably. Furniture-grade hardwood is not necessary for a bench that will receive tool impacts, glue drips, and general shop abuse.
How long does it take to build a simple workbench?
A first-time builder working at a relaxed pace can complete the base and top glue-up in one day and finish the flattening, attachment, and any add-ons in a second day. Allow a full week of shop time if fitting the build around other commitments rather than blocking out a dedicated weekend.
Can I build this bench with just a circular saw and a drill?
Yes. The entire bench can be built with a circular saw for rough cutting, a drill driver for assembly, a square for checking alignment, and a belt sander for flattening if a hand plane is not available. No table saw, miter saw, or specialty tools are required for the basic design.
How do I keep the bench top from warping after it is built?
Apply a finish coat to all surfaces of the top, including the underside, before attaching it to the base. A sealed underside reduces the moisture differential between the top and bottom faces that causes cupping. Use figure-eight fasteners rather than glue for attachment to allow seasonal movement without stress. POST: The biggest upgrade might not be a new tool. 👇 Link in the comments. Linkedin: #WoodworkingProjects #WorkshopDesign #MakerCommunity

