


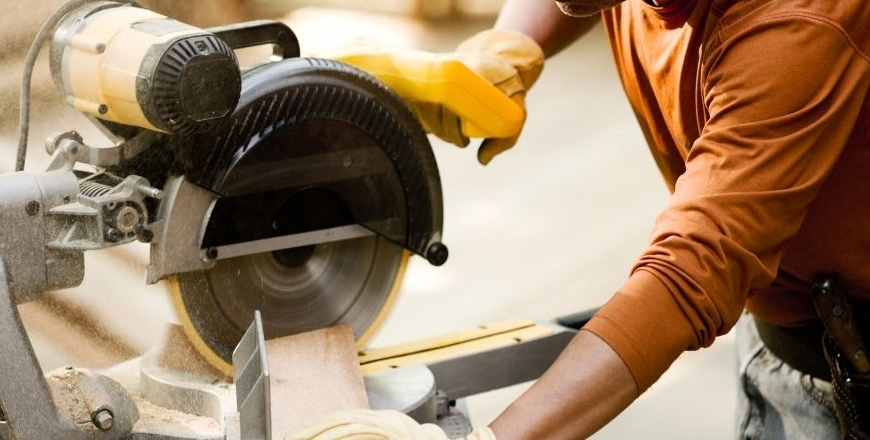
Miter Saw Cuts Not Square: Causes and the Full Fix
You set the saw to zero degrees, made the cut, and checked the piece against a reliable square. There is a gap. Not huge, but enough that a picture frame corner will not close, a trim joint will show daylight, and a cabinet face frame will rack the moment it gets clamped.
Miter saw cuts not square is one of the most predictable problems in a garage workshop, because it follows a specific set of causes every time. The saw feels accurate. The detent clicks solidly into place. The angle reads correctly on the scale. And the cut still comes out wrong. Knowing exactly why this happens and working through the calibration steps fixes the problem permanently.
Why Are My Miter Saw Cuts Not Square?
Miter saw cuts not square almost always trace back to one of four causes: the fence is not perpendicular to the blade, the table has play or debris underneath it, the blade has runout or damage, or the detent stops do not hold their labeled angles. Any one of these is enough to throw a cut off by a visible degree or more.
A saw that cut accurately when it was new can drift out of calibration from vibration, transport, and regular use. The full calibration process for the other primary cutting tool in a garage workshop is covered in how to improve table saw accuracy with fence and blade fixes. Diagnosing miter saw accuracy problems means isolating which cause is responsible before touching any adjustment screws.
The Fence Is Not Perpendicular to the Blade
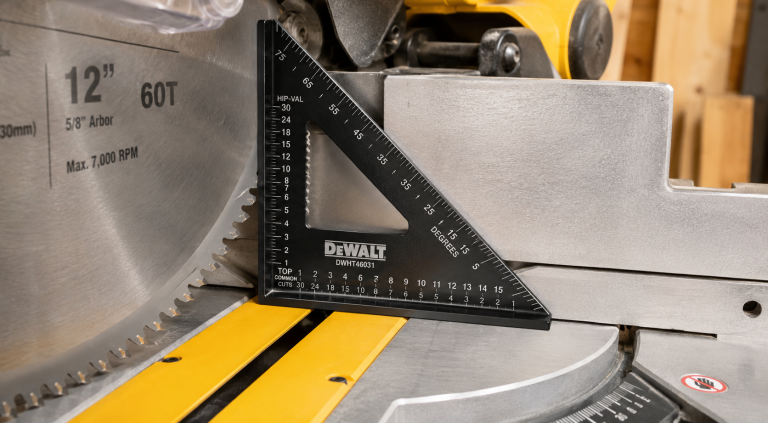
This is the most common single cause of miter saw cuts not square at the zero-degree setting. Both fence sections, on either side of the blade, must sit at exactly 90 degrees to the blade. Even a small deviation shows up as a visible gap when two pieces meet at a corner.
Check this with a reliable engineer’s square. Place one leg flat against the fence and bring the other leg to the blade body, not the teeth. Tooth set adds a small but real error to any measurement taken against the cutting edge. Repeat on both sides of the blade, since each fence section can be off independently.
The Table Has Shifted or Has Debris Underneath
A miter saw table that has loosened from its mount, accumulated sawdust under the workpiece, or developed play in the rotating base affects every cut on that saw regardless of the angle setting. This cause gets missed regularly because the table looks solid while still allowing small movement under cutting pressure.
Clean the table surface and the rotating mechanism before any calibration attempt. Check that all mounting bolts are tight, and test for rotational play by pressing firmly against the saw head while the angle lock is engaged. Any detected movement must be addressed before the fence adjustment is worthwhile.
The Blade Has Runout or Built-Up Pitch
A blade that wobbles during rotation cuts a kerf wider than its actual thickness and leaves a cut face that is not truly flat. The same runout problem causes table saw cuts to drift and burn during rip cuts, and the diagnostic method is identical across both tools. This produces results that look like a fence problem even when the fence itself is correctly set.
Before adjusting anything mechanical, remove the blade and clean the arbor flange and the blade bore with a clean cloth. Pitch buildup on the flange face pushes the blade slightly out of plane and is responsible for more runout complaints than actual blade damage. A blade that wobbles under rotation after cleaning should be replaced before any other calibration step is attempted.
The Detent Stops Do Not Hold Their Labeled Angles
Most miter saws include spring-loaded detent stops at common angles: zero, 15, 22.5, 30, and 45 degrees. These detents are convenient for fast setup but are factory-set and frequently hold angles that are slightly off, especially after the saw has been moved or dropped.
Trusting detents without verification is one of the most consistent causes of miter saw cuts not square on angled work, even when the zero-degree crosscut is perfectly calibrated. Every detent position should be verified independently against a reliable square or digital angle gauge rather than accepted at face value.
How to Calibrate a Miter Saw for Square Cuts
Adjust the Fence to True 90 Degrees
Most miter saw fences include adjustment screws behind or beneath the fence body that allow fine repositioning. Loosen them slightly, use the engineer’s square to position the fence at true 90 degrees to the blade, and retighten while holding the fence in place.
This one step resolves the majority of miter saw cuts not square complaints on saws that have never been calibrated since leaving the factory. After tightening, recheck the measurement. The act of tightening the screws can shift the fence slightly, so a second verification is always worth the extra minute.
Verify and Reset the Zero-Degree Detent
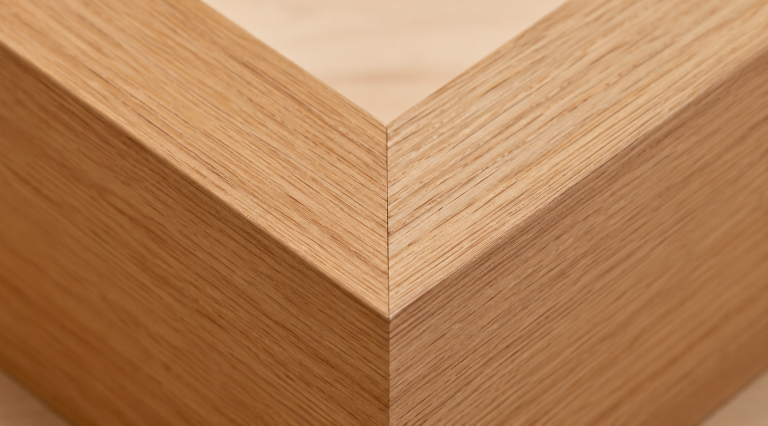
With the fence correctly set, lock the saw at the zero-degree detent and check the blade-to-fence angle again using the same square method against the blade body. If the detent is off, most saws have a stop screw that repositions the zero-degree lock point.
Make small adjustments and recheck until the measurement is accurate, then move to the 45-degree positions on both sides using the same process with an angle gauge. Each detent must be verified independently. Correcting one does not correct the others.
Clean the Blade and Inspect for Damage
Remove the blade and clean the arbor flange and blade body thoroughly. Inspect the blade for visible warping by sighting along the face under good light, and check each tooth for damage or missing carbide. Pitch buildup on the blade itself increases friction and heat during cutting, which can cause slight deflection that reads as inaccuracy even on a well-calibrated saw.
Replace any blade showing visible warping, cracked plates, or more than two consecutive damaged teeth.
Secure the Table and Rotating Mechanism
Tighten every bolt securing the table to the base and the base to the stand or bench surface. Clear sawdust from the rotating mechanism and from the table surface where the workpiece rests. Any debris between the workpiece and the table prevents flat contact against both the table and the fence at the same time, which is enough to throw off a cut that was set up correctly.
How Material Support Affects Cut Accuracy
A long board or piece of molding that is not fully supported at both ends flexes under its own weight, changing the angle at which the material contacts the blade even when the saw is perfectly calibrated. This is regularly mistaken for a saw problem when the actual cause is an unsupported workpiece.
Use roller stands or extension supports on both sides of the saw for any piece longer than about three feet. On crown molding and baseboard work, this single change resolves more accuracy complaints than any adjustment to the saw itself.
A Repeatable Calibration Sequence
For a saw being calibrated for the first time, working through these steps in order prevents wasted effort from adjusting elements out of sequence:
🪚 Clean the blade, arbor flange, and table surface before any measurement
🪚 Verify and adjust fence alignment to true 90 degrees on both sides of the blade
🪚 Check and correct the zero-degree detent against the adjusted fence
🪚 Verify the 45-degree detents on both sides with an angle gauge
🪚 Confirm table and base stability under firm hand pressure
🪚 Support all material fully during test cuts to remove flex as a variable
This sequence takes 20 to 30 minutes on a saw that has never been calibrated and significantly less time as a routine check on a saw already in good alignment.
👉 Book a demo today and see how Woodshop Master helps your shop grow without limits.
FAQ: Table Saw Cut Accuracy
Why does my miter saw cut square at zero degrees but not at 45?
The fence is correctly aligned but the 45-degree detent stop is off. Verify the 45-degree cut independently with an angle gauge and adjust the stop screw for that specific angle if your saw model allows it. Each detent must be set and verified separately.
Can a dull blade cause inaccurate miter saw cuts?
A dull blade primarily causes tear-out and burning rather than angle errors. A blade with damaged or missing teeth can create uneven cutting forces that produce a slightly skewed cut face. Always inspect the blade as part of any accuracy diagnosis, particularly when the problem appeared suddenly rather than developing gradually over time.
How often should I recalibrate a miter saw?
Check fence alignment and the zero-degree detent any time the saw is moved or transported, and as part of routine maintenance every few months for a saw in regular weekly use. A saw that produces inconsistent results between sessions without being moved should be checked immediately.
Why does my crown molding not fit at corners even though the saw reads 45 degrees?
Crown molding requires both a miter angle and a bevel angle set correctly together. It also must be positioned against the fence at the correct orientation for the specific molding profile. An accurate saw with the wrong positioning will still produce a joint that does not close.
Is a more expensive miter saw worth it for better accuracy?
Higher-priced saws typically have tighter factory tolerances and heavier bases that hold calibration longer between adjustments. A correctly calibrated mid-range saw achieves the same practical accuracy for most garage workshop work. Calibration technique matters more than price for beginner and intermediate projects.

